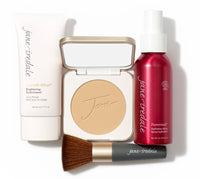
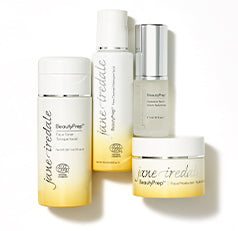
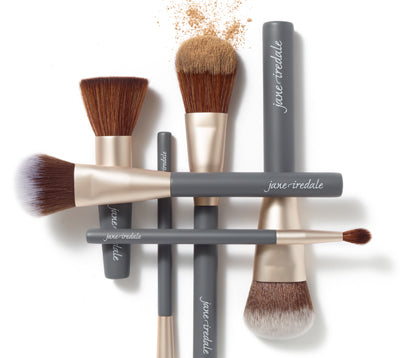
- Always start by priming your skin. For oily skin use Absence Oil Control Primer, this will let you keep that soft "glowing" look without looking like you have oil slicks on your face, because that's never "in". Apply a small amount of Absence Oil Control Primer to your oil prone areas using the Foundation Brush. If you can see the Absence on your face you've applied too much, less is definitely more with this product. If you have normal-dry skin, start by applying Smooth Affair Facial Primer & Brightener using your finger tips.
- Next apply Dream Tint Tinted Moisturizer to your face using a large pea sized amount. I like to apply a dot to my forehead, nose, chin and each cheek. Then spritz your Blending Brush with your favorite Hydration Spray and use it to blend the Dream Tint into your skin. If this is enough coverage for you skip to step 5, if you need more coverage follow steps 3-4.
- If you have any blemishes that need covering take the opportunity to conceal them now. For acne blemishes use a small amount of Zap&Hide Blemish Concealerand blend gently using your finger or Camouflage Brush to feather the edges of the concealer. For dark under-eye circles try your shade of Circle/Delete Concealer. For more concealer ideas, click here.
- Next apply your shade of Amazing Base Loose Mineral Powder. Amazing Base will offer you extra coverage beyond that of Dream Tint, but will give you a more luminescent finish as opposed to the semi-matte finish from PurePressed Base Mineral Foundation. I like to apply my Amazing Base using the Handi Brush, but you may also use the Chisel Powder Brush. Spritz with your favorite Hydration Spray once you've applied the powder.
- Using the White Fan Brush or the Dome Brush, apply Sunbeam Quad Bronzer to your forehead, under your cheeks and along your jaw line. When deciding where to apply bronzer always keep in mind the areas of your face that the sun naturally "kisses", these are the ones to highlight. You may choose to use Rose Dawn or Moonglow Quad Bronzer instead, depending on your skin tone or what you shade like best.
- Apply Comfort In Touch Highlighter to the top of your cheek bones and the bridge of your nose using your finger tips. This will help add that "glowing" look without adding too much shimmer or color.
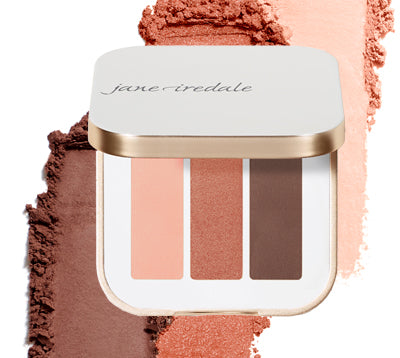
- Apply Peach Silk Eye Gloss to your entire eye lid using the doe foot applicator; pat to blend using your ring finger.
- Apply Champagne Silk Eye Gloss to your brow bone using the doe foot applicator; pat to blend using your ring finger.
- Line your bottom inner rim and inner corner of your eye using the white end of the White/Pink Highlighter Pencil or the White Eye Pencil.
- Apply PureLash Lash Extender & Conditioner to your lashes, followed by Black Ice Longest Lash Thickening and Lengthening Mascara.
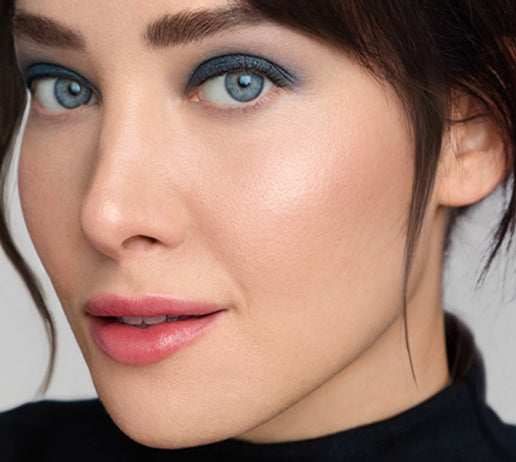
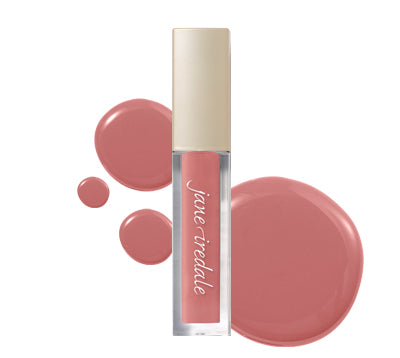
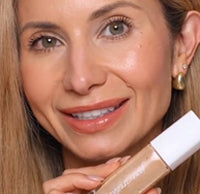
- Apply your favorite lip gloss shade to your lips, I used Tangerine PureGloss on the model above.
Makeup Blog
How to get soft, glowing skin and the no-makeup, makeup look
- 3 min read
Every year seems to be the year of the "no-makeup" makeup look, that is in again this spring, but that shouldn't come as a surprise because beautiful skin is always "in". So here are a few steps to get that soft, glowing skin and gorgeous "no-makeup" makeup look.
Chelsea began her beauty journey in 2010 as a fashion and beauty freelancer at Ladies’ Home Journal magazine. There she had the chance to test and review hundreds of products while quickly falling for the benefits the clean makeup she tried. After leaving the magazine industry, she worked as a publicist for international fragrance and beauty brands until 2016 when she landed at jane iredale. Here, she has discovered liquid eyeliner doesn’t have to burn her eyes, foundation doesn’t have to feel heavy, and that the jane iredale Global Educators truly have the best beauty hacks. Since then, she’s shared her 10+ years of experience with you on The Good Glow Blog.

